How to give your first peptide injection
The first injection is the hardest. After that, most people say it is easier than they expected.
TL;DR
- Subcutaneous injections deposit medication just under the skin — not into muscle.
- A 27–31 gauge needle at 45 degrees is the standard starting point.
- Prep, pinch, inject, rotate — four steps that become routine within a week.
What it is
A subcutaneous injection (in plain English: an injection into the fat layer just beneath the skin) delivers medication to a layer of tissue that is rich in small blood vessels. From there, the medication absorbs slowly and steadily into circulation.
Peptide injections use very fine, short needles — typically an insulin-style syringe. This is not the same as an intramuscular injection (the kind given for vaccines in the shoulder). The needle stays shallow.
How it works
Think of the skin as a layered sandwich. The top is the epidermis (the visible surface). Below that is the dermis. Below that is the subcutaneous layer — a cushion of fatty tissue. You are aiming for that cushion.
A fine needle at a 45-degree angle slides into this layer with minimal resistance. The medication deposits there and slowly diffuses into nearby capillaries (tiny blood vessels). Absorption is gentler and more prolonged than an intramuscular injection.
Who asks about it
People who have just received their first peptide protocol from a prescribing clinician often find the injection step the most anxiety-inducing part. The science made sense. The pharmacy sent the vial. And now there is a needle. This walkthrough is for that moment.
What the research says
Subcutaneous self-injection is well-established across many medical contexts — insulin therapy, fertility protocols, and biologics (medications derived from biological sources). Published technique guidance from the American Diabetes Association and similar bodies confirms that 27–31 gauge needles at 45–90 degrees consistently achieve the correct tissue depth with the lowest pain scores (NIH, 2022).
A step-by-step guide
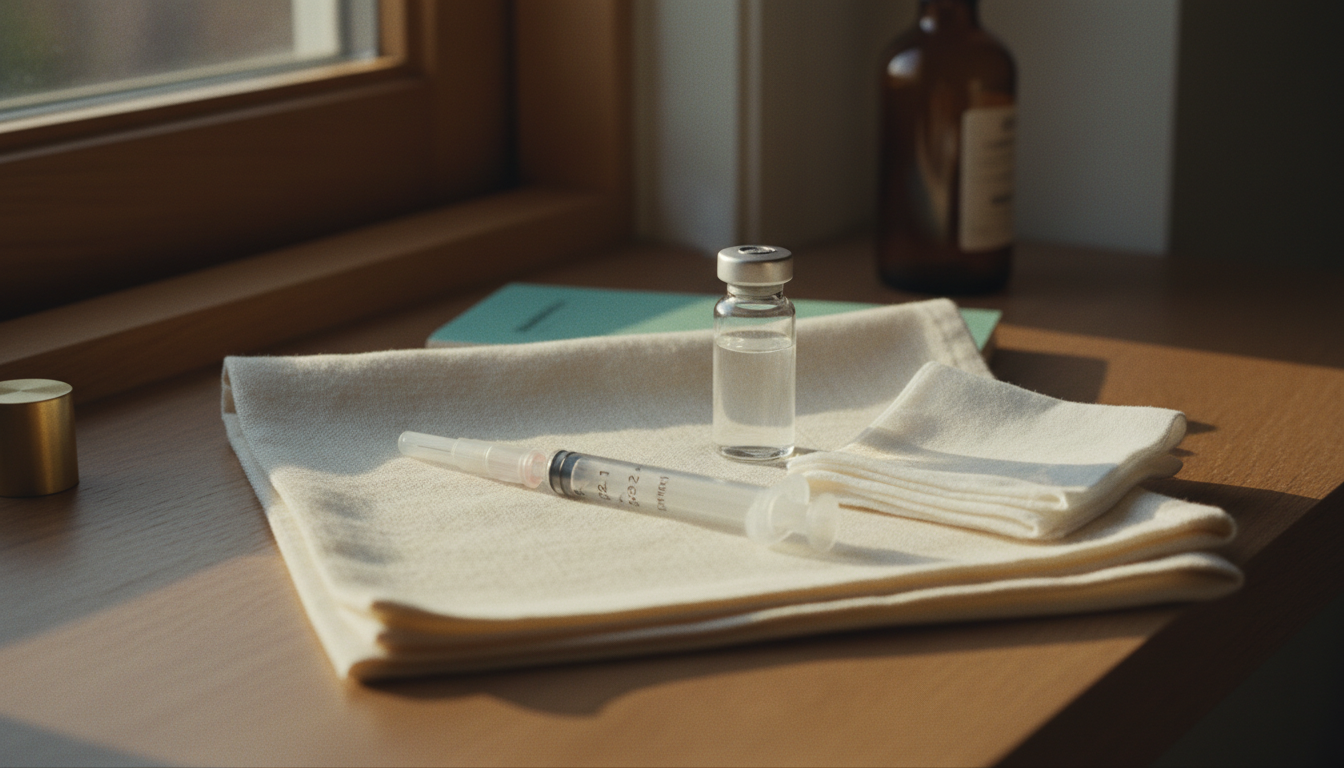
Before you start:
- Wash your hands thoroughly for 20 seconds.
- Remove the vial from the fridge and let it reach room temperature — about 15–20 minutes. Cold medication stings more.
- Wipe the vial stopper and your chosen injection site with an alcohol swab. Let both dry for 10 seconds (wet alcohol also stings).
Drawing the dose:
- Insert the needle into the vial and draw back slightly more than your prescribed dose.
- Tap the syringe gently and push any air bubbles out until just the liquid remains at the fill line.
The injection:
- Pinch a small fold of skin at your chosen site (lower abdomen works well for most people).
- Insert the needle at a 45-degree angle in one smooth motion. Do not hesitate — a slow insertion feels worse than a quick one.
- Release the pinch. Push the plunger slowly and steadily.
- Withdraw the needle at the same angle it entered. Apply light pressure with a dry swab if needed.
Aftercare:
- Dispose of the needle immediately in a sharps container.
- Note the site you used and rotate next time. (Site rotation guide)
What to know before starting
Self-injection requires a valid prescription and guidance from a licensed clinician. The technique described here is general educational information only. Your prescribing physician or pharmacist should provide instructions specific to your protocol and vial concentration. Do not attempt to self-inject any compound without this guidance.
Temporary redness or a small raised area at the site is normal. Pain that persists beyond 30 minutes, spreading redness, warmth, or fever are not normal — contact your clinician.
The Halftime POV
The injection step feels bigger than it is. Within a few repetitions, it becomes as routine as brushing your teeth. The goal here is to demystify the mechanics so that the first time is not the hardest time for very long.
Related reading:
- Reconstituting peptides: bacteriostatic water basics
- Injection site rotation: why it matters
- Peptide storage and cold chain basics
FAQ
Q: What angle should I use for a subcutaneous injection? A: A 45-degree angle works for most people. If you have more subcutaneous tissue at the site, 90 degrees is also fine. The goal is the fat layer, not muscle.
Q: Does a peptide injection hurt? A: Most people feel a small pinch. Using a fine-gauge needle (27–31G) and letting the medication reach room temperature first both reduce discomfort.
Q: Where do I inject peptides? A: The lower abdomen (two inches from the navel), outer thighs, and back of the upper arms are the most common sites. Rotate with each injection.
Q: How do I know it went correctly? A: A small temporary bump (wheal) at the site means the medication landed in the subcutaneous layer. Normal. It absorbs within minutes.
Disclaimer
This article is educational and is not medical advice. Compounded medications are not FDA-approved. Clinical outcomes depend on individual factors and require physician evaluation. Results vary. Halftime Health is launching soon — join the waitlist to get updates.
Get updates
Halftime Health is launching soon. We’ll share what we learn along the way — the research, the regulations, the real-world trade-offs. Join the waitlist and we’ll email you when we’re live.
Sources
- Subcutaneous injection technique overview — NIH/NCBI Bookshelf, 2022
- Injection technique recommendations — American Diabetes Association, 2023
Sources & references
- ncbi.nlm.nih.gov — https://www.ncbi.nlm.nih.gov/books/NBK459289/